Slitting machine use specifications and operating instructions
1. First fold out the upper knife, adjust to the required size and put it back into the lower knife, and then adjust the upper knife adjustment button to the middle position.
2. Put the upper knife holder gently to the appropriate position to lock the fixed handle, push the upper knife until the lower knife is leaning, then lock it, and then adjust the upper knife pressure knob to make it pressurous.
3. Put the material to be slitted into the feeding shaft and fix (the tightness should be suitable) to pass the material through the transmission shaft, the pressure wheel, through up and down, turn the hand runner to bring it out, and at the same time adjust the left and right adjustment buttons to make it accurate, and then paste it to the roll out shaft to the paper tube, paying special attention to the specifications of the paper cylinder must be consistent.
4. Turn on the power supply and counter switch, and adjust the reel voltage to 5V (normally maintained at 5V, can also be adjusted according to the appropriate situation)
5. Measure, press the clear button to reset the counter to zero, P1 on the meter is fast, P2 is slow, P1 is 5 less than P2 value when setting, after the value is set, the LED begins to flash, about 3 seconds or so no longer flashing, indicating that the setting is complete.
6. Start the slitting button and adjust the slitting speed knob.
7. After the slitting is completed, clean up the residual glue on the upper and lower knives and transmission wheels in time to keep the equipment clean.
Recent Post
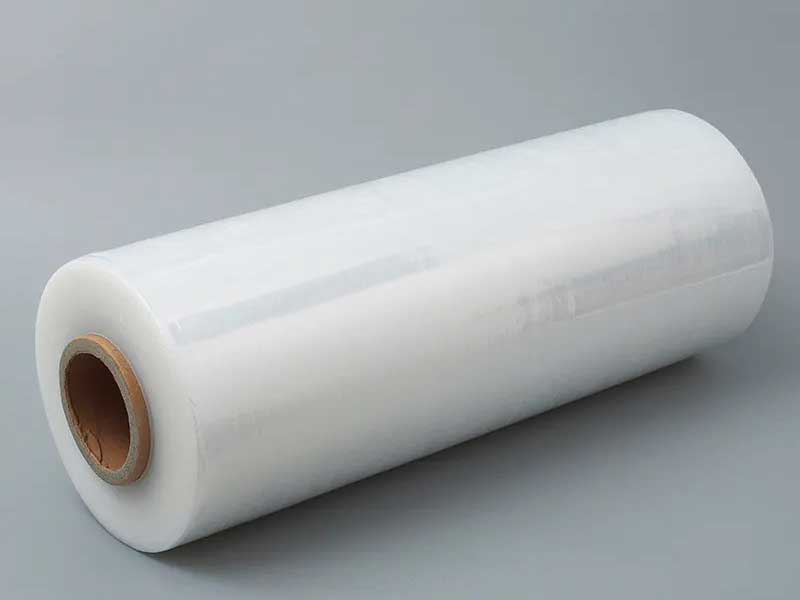 The central role of slitting machines in the production of PE, PP, PET films22. April, 2025
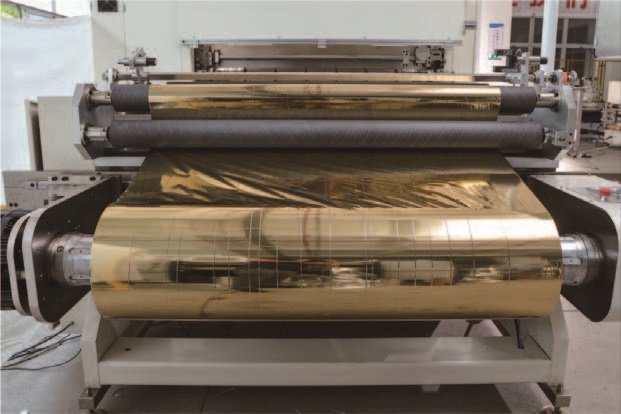 Automatic slitter: a key function to improve production efficiency22. April, 2025
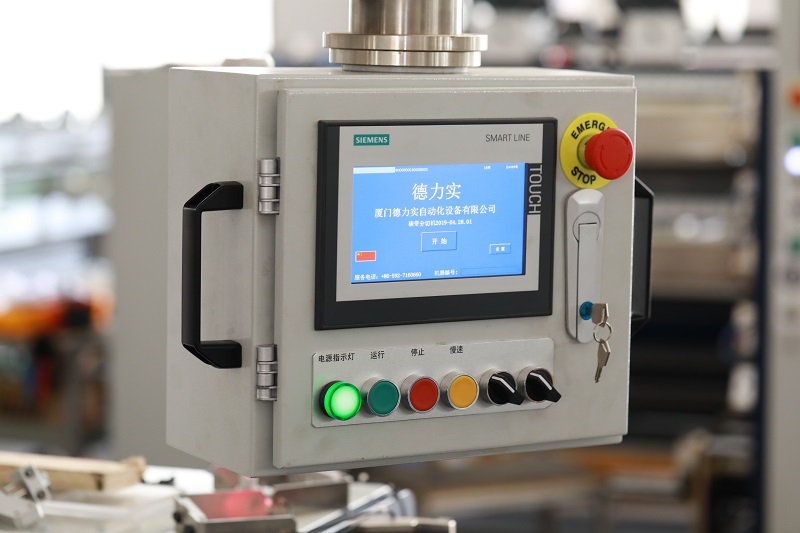 The era of intelligent slitting: how to simplify the operation of PLC control + man-machine interface?21. April, 2025
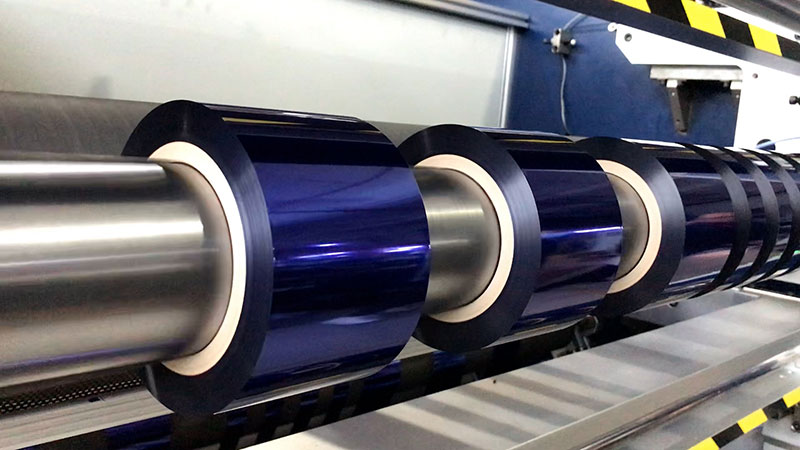 How does a slitting machine empower multi-industry production? Inventory of core application scenarios21. April, 2025
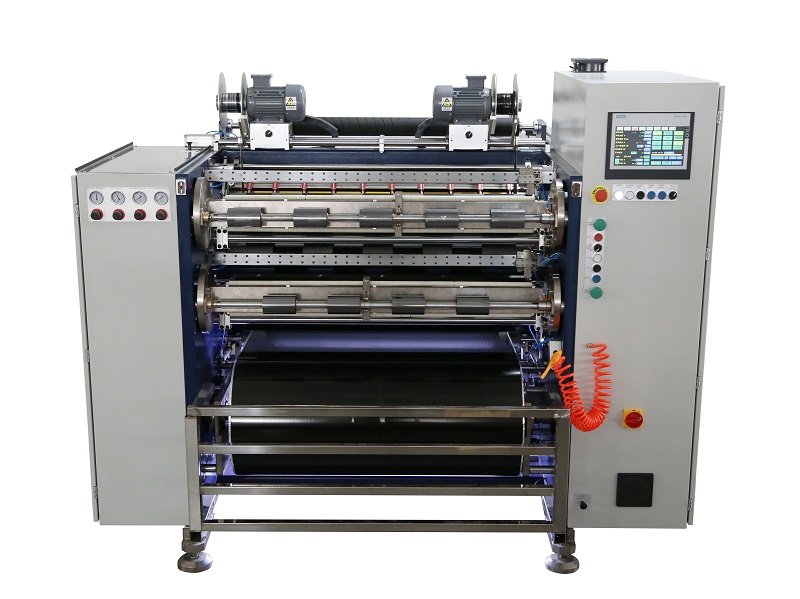 Fully Automatic TTR Slitter RSDS8 Plus
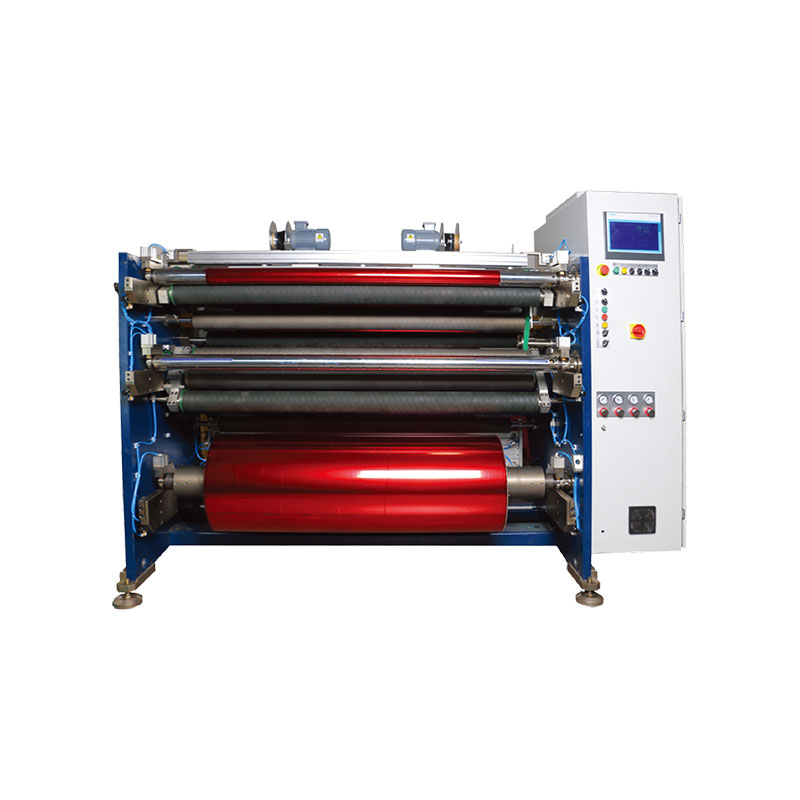 Hot Stamping Foil Slitter 1600mm
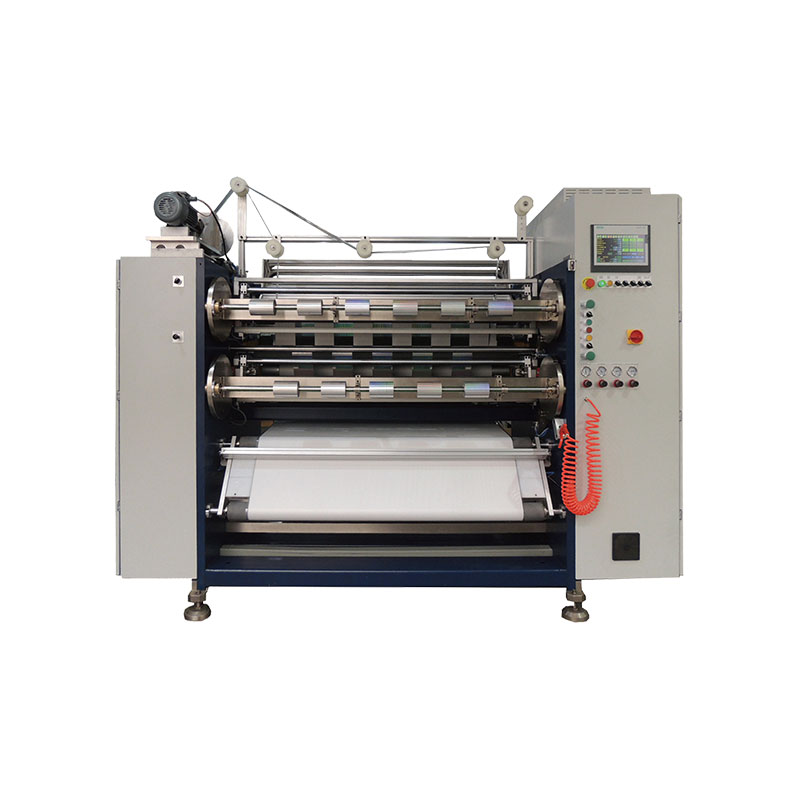 Hot Stamping Foil Slitter (4 Shafts)
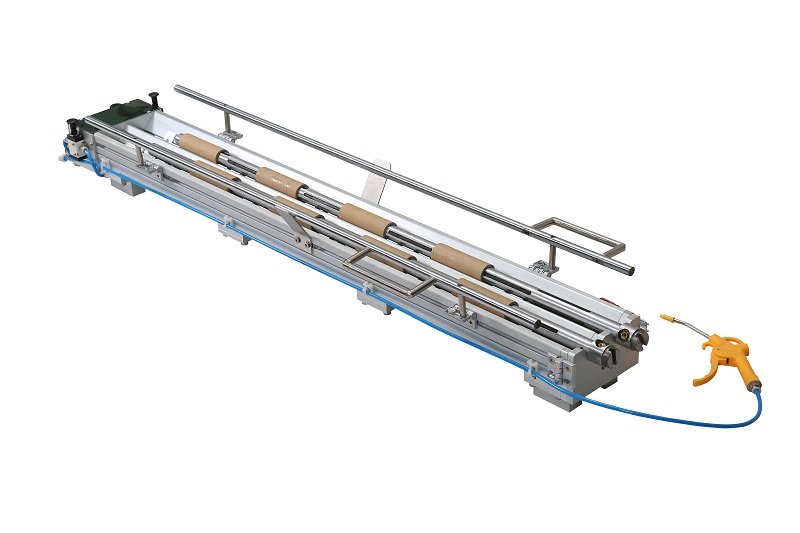 Paper Core Loading Machine
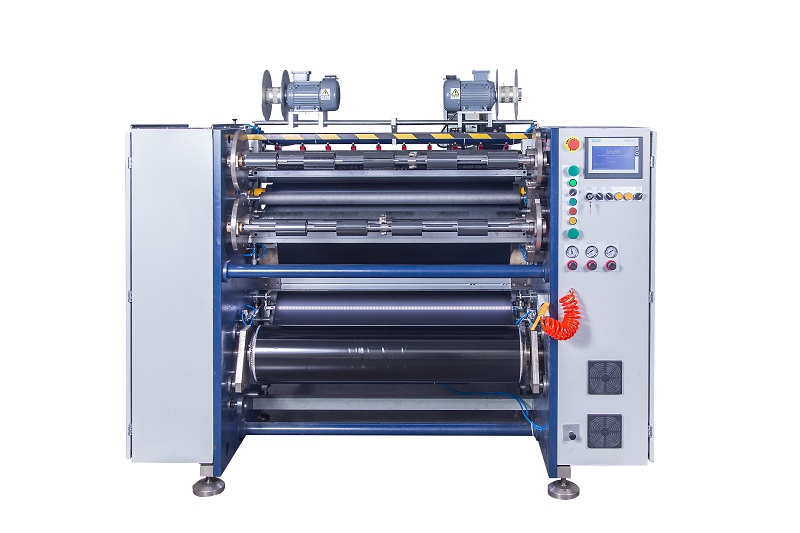 Semi-Auto TTR Slitter RSDS2 Plus
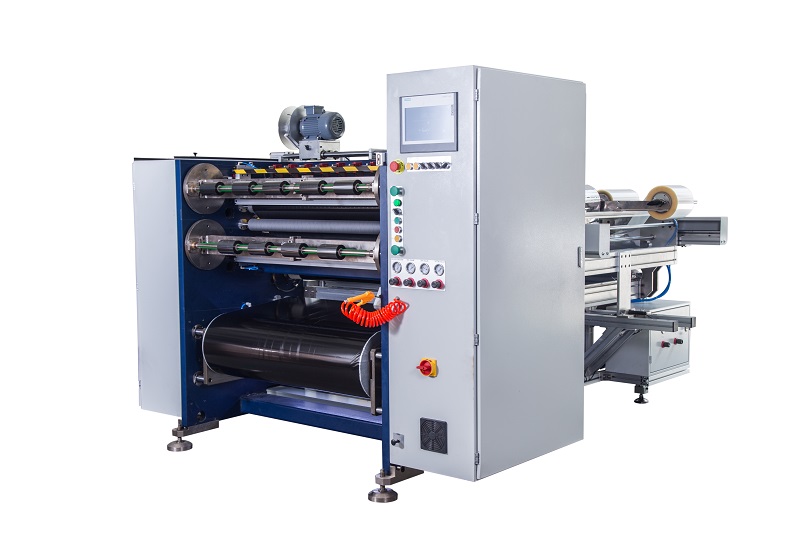 Semi Automatic TTR Slitter RSDS5 Plus
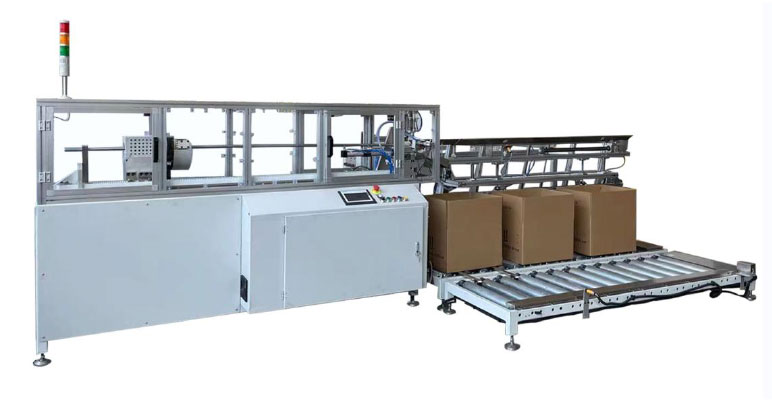 Auto Paper Core Cutter
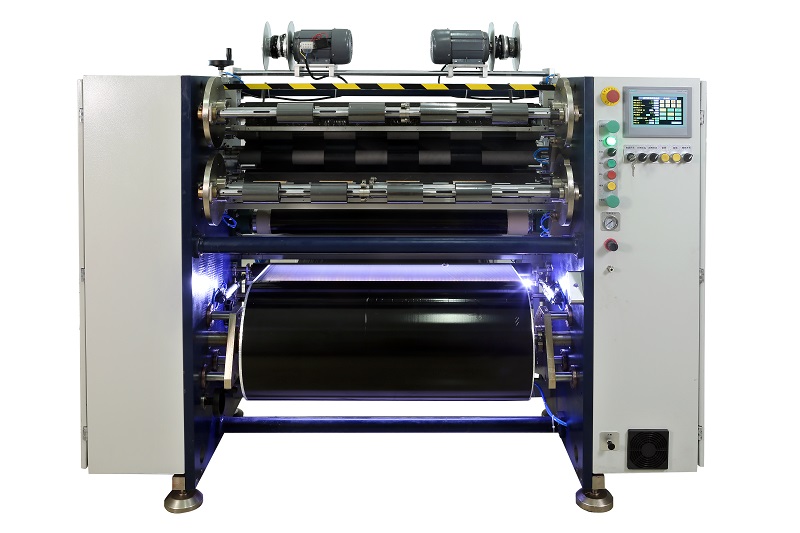 Manual TTR Slitter RSDS2


